Workflow: MakeHuman and Blender
Contents
Workflow: MakeHuman, Blender, UE4 - Rigging and Animation
Introduction
This tutorial will show you how you can make a character in MakeHuman, export it to Blender, add an animation to it and import it into UE4. The tutorial is based on KingBadger3d's great YouTube tutorial (http://www.youtube.com/user/KingBadger3d/videos). This tutorial tries at using Open Source Software where possible.
Prerequisites
We need a few programs to work with.
bvhacker
URL: http://davedub.co.uk/bvhacker/index.html Used to modify *.bvh motion capture files. You can use it to realign animations and get rid of root motion. You can use blender for this, too: https://forums.unrealengine.com/showthread.php?11313-Getting-rid-of-Root-Motion
Motion Captures
You can get free motion captures from e.g.: - http://accad.osu.edu/research/mocap/mocap_data.htm
MakeHuman
URL: http://www.makehuman.org Used to create human characters, including rigs. Don't forget to download the Blender Tools, too!
Autodesk FBX Converter
URL: http://usa.autodesk.com/adsk/servlet/pc/item?siteID=123112&id=22694909 Used to convert ASCII-FBX files to Binary FBX files (may not be needed with Blender 2.71 anymore).
Blender 2.7
Blender IO-FBX
Most likely not needed for Blender 2.71 URL: https://github.com/mont29/blender-io-fbx/commits/master Installation: DELETE "C:\Program Files\Blender Foundation\Blender\2.70\scripts\addons\io_scene_fbx", then copy the folder from github there.
Setting up Blender
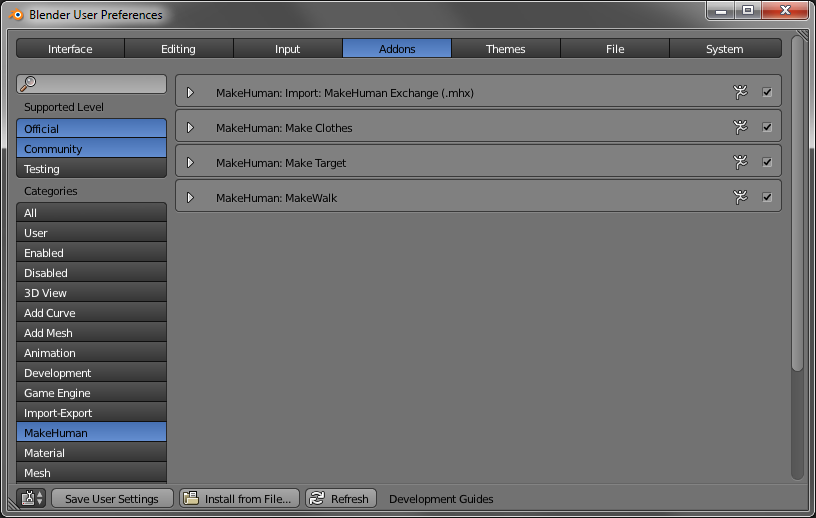
- Unzip blendertools-1.x.x-all.zip to "C:\Users\USER\AppData\Roaming\Blender Foundation\Blender\2.70\scripts\addons" - Open Blender's User Preferences and activate all MakeHuman plugins
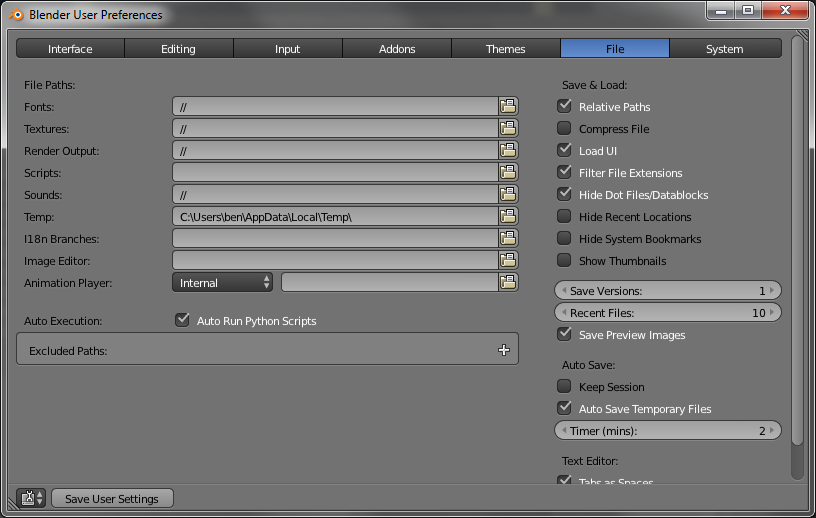
- Set "Auto run python scripts"
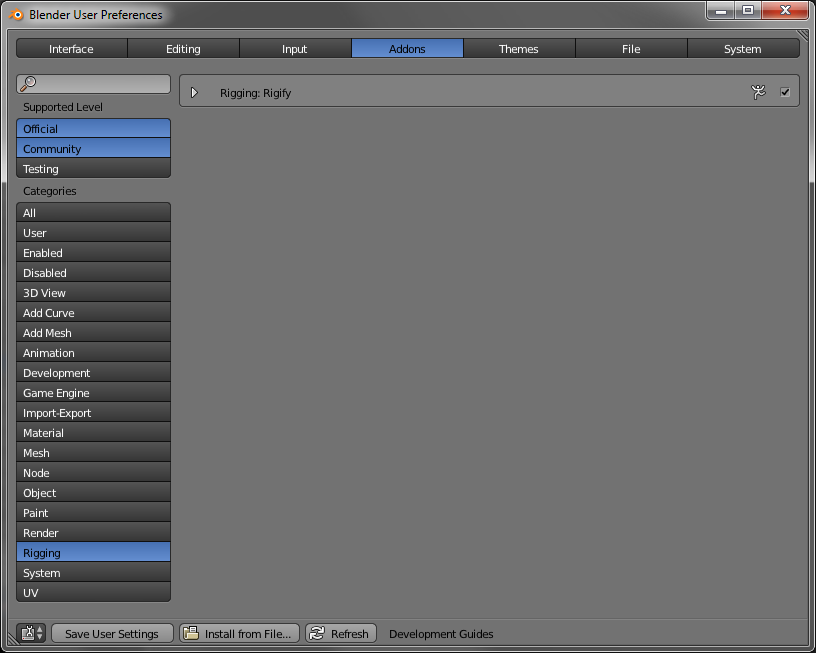
- Activate "Rigify
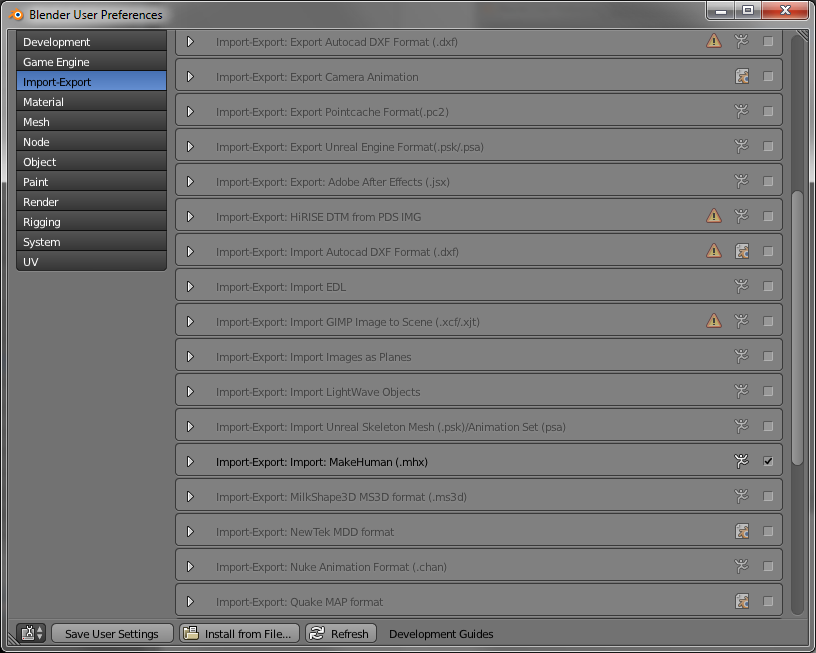
- DEactivate "Import/Export MakeHuman" in the CATEGORY Import-Export
- Click "Save User Settings" in the User Preferences window and close it
Create character in MakeHuman
Not much to tell here. Feel free to create any character you like. Please use low poly eyes, otherwise your character will be cross-eyes in UE4. To export your character, use these settings: - Set "Pose/Animate - Rig Presets" to HumanIK. - MeshFormat: Blender exchange (.mhx) - Options: Feet on ground, Export for Rigify - Scale units: centimeter
Import character in Blender
Delete all stuff from the default scene (camera, light, cube). Click File - Import - Makehumane (.mhx) You should now see your character in Blender!
Add animation to character
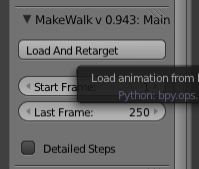
Set the maximum number of frames in Blender to a number that fits your desired animation! In the Pose Tools / MakeWalk catagory click "Load And Retarget"
Now choose a *.bvh file. Adjust the value of "Last Frame" if your animation is longer.
That's all! Click the play button in Blender's animation controls and your character should perform the motion capture animation.
Export from Blender to UE4
MHX to FBX export
First we have to export the character mesh and the skeleton. DO NOT continue. Start a NEW project in Blender.
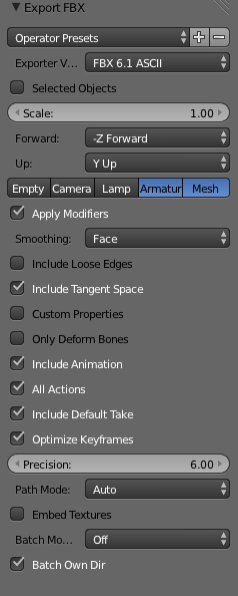
- Import your MakeHuman file again into Blender - Do not change anything - Export to "Autodesk FBX" - Use settings (Blender 2.71 may not need this): FBX 6.1 ASCII, enabled ONLY "Mesh" and "Armature", check "Include Tangent Space"
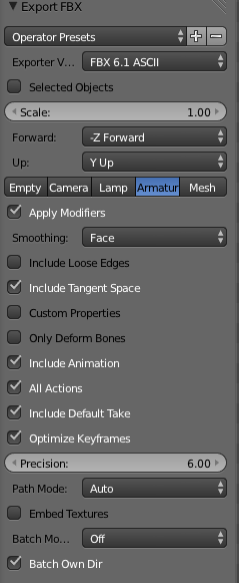
- Now continue, as already described above, to import your .bvh animation - Export again to "Autodesk FBX", but ONLY enabled "Armature"
- Use Autodesk FBX Converter to convert the ASCII FBX files to "FBX 2013 Binary"
Import to UE4
Create a new Unreal project (e.g. Third Person Blueprint).
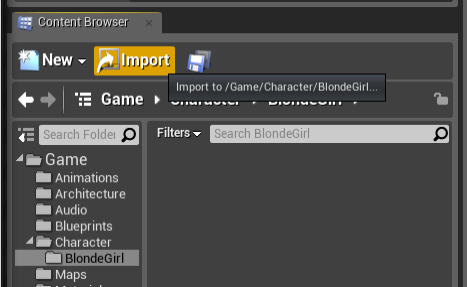
- First, import the MESH (the export without the bvh animation!)
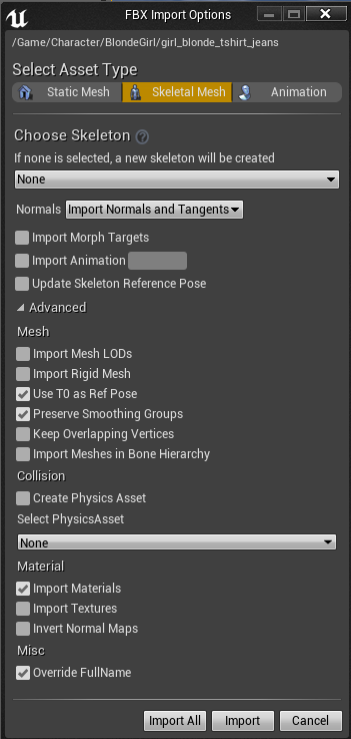
- Set: Skeletal Mesh, None Skeleton, Import Normals and Tangents, Use T0 as Ref Pose, Preserve Smoothing Groups, None Physics Asset, Import Materials
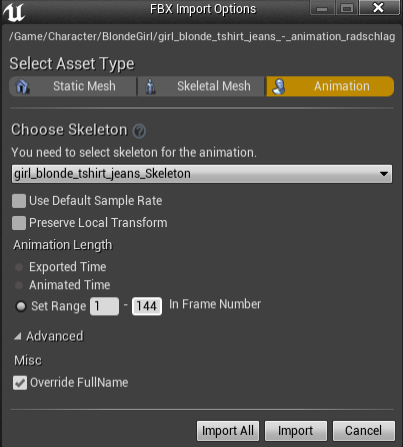
- After that, import the FBX file with the animation - Select the imported mesh as Skeleton, and set the desired number of frames (using "Exported Times" usually works, though)
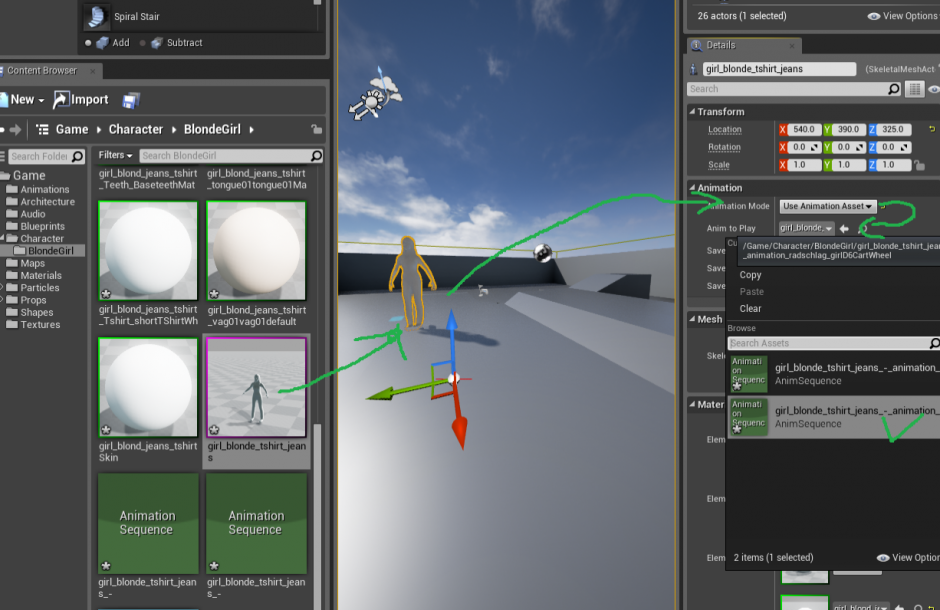
- Drag your imported character into the editor - Set Animation mode to "Use Animation Asset" - Set Anim to play to your imported animation - Click play and watch your character performing the animation in UE4!
Texturing your character
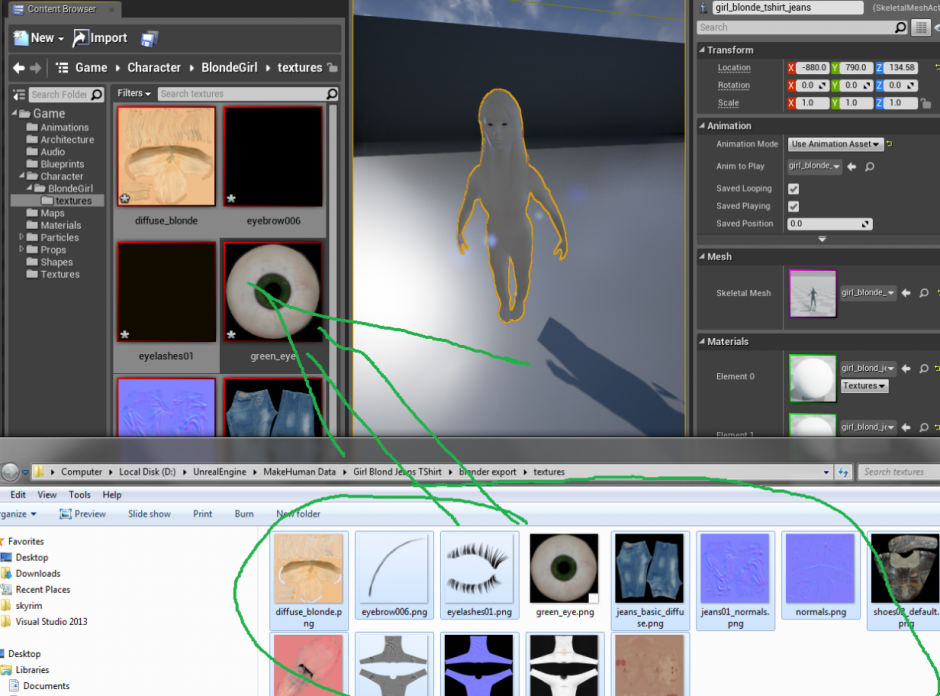
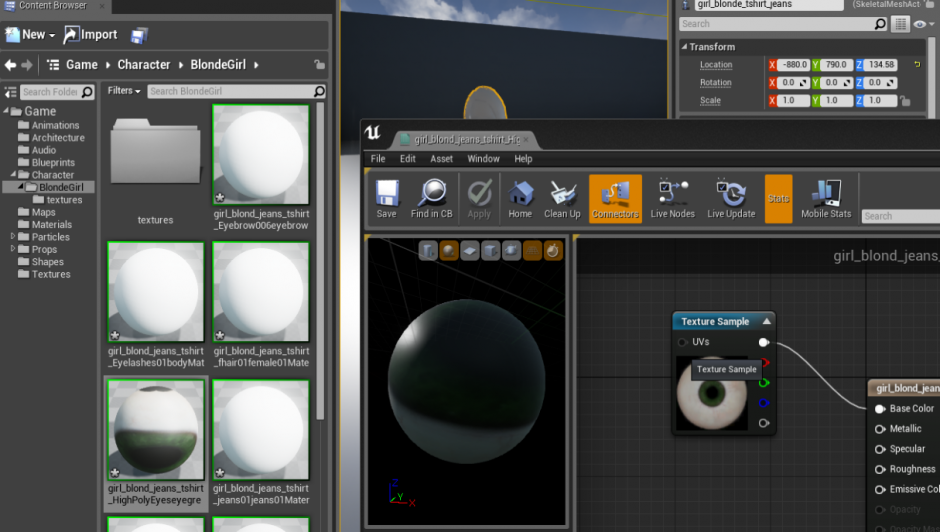
Create a new texture folder in UE4. Blender exported all textures to a subfolder "textures". Drag all those files into the empty textures folder in your content browser.
Now open the MATERIALS that UE4 imported and set the "Base color" to the according texture.
Connect the normals textures of the jeans and t-shirt (if you used them) to the normal pin.
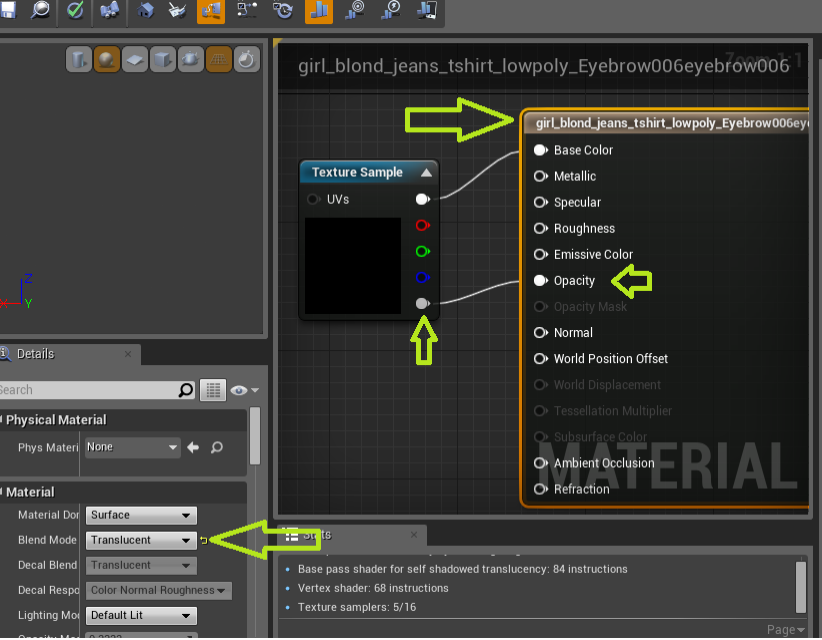
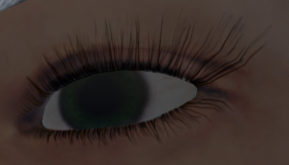
Eyelashes and eyebrows need a little transparency. Set the material's blend mode to "translucent" and connect the alpha channel to the opacity pin.
Btengelh