Visual Effects: Lesson 07B: Creating and Using GPU Particle Simulations
Creating a new GPU particle system
Building on the last lesson, let’s get started by creating a new particle system. If you don’t know how to create a new particle system, you may have jumped ahead too far and I suggest reading through the previous tutorials.
Let’s use the material from the Initial Color module lesson, which should be a Translucent Material. If you don’t have this material available, create a new material with a particle color control at the minimum, though reading through the previous tutorials will greatly aid in your understanding of what I will do with this particular material.
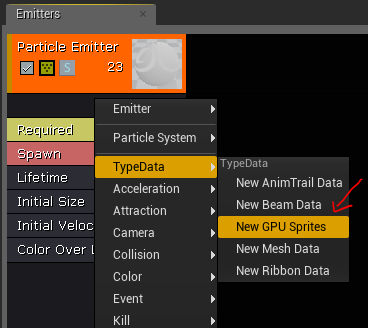
Map the material to your sprites with the Required Module, click in the black area above the Required Module, and choose Type Data\New GPU Sprites.
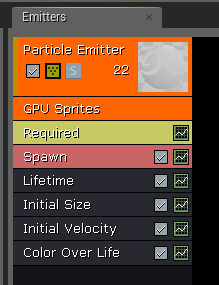
You will now see a new GPU Sprites data module above your Required module.
Delete the Color Over Life module and add an Initial Color and Scale Color module right away and start making that part of our work flow.
You’ll notice after clicking on the GPU Sprites Module that there is a Camera Motion Blur Amount options box.
Changing this value now will not yield any result until we edit our material.
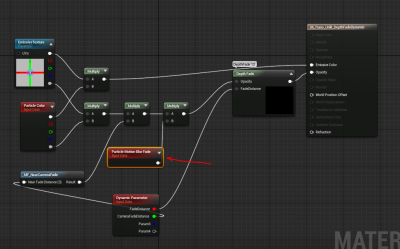
Open the master material of your Translucent material and add the Particle Motion Blur Fade expression to your material.
This expression will stretch the vertices of your sprite, dependent upon the direction and velocity of your camera’s movement in the scene. C ompile your material and return to Cascade.
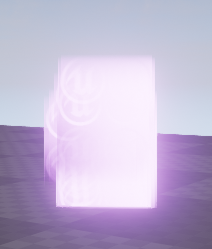
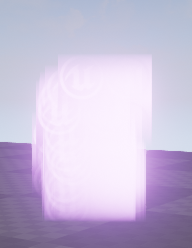
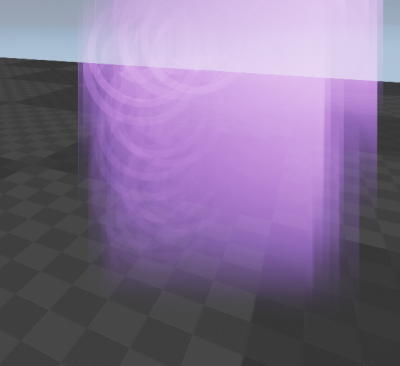
Set your Camera Motion Blur Amount to 12 and move your camera in the viewport. You will see the particles stretch toward and away from your camera.
This can be especially useful for effects like rain or snow, as it adds another element of motion to your effects, and is only visible when the camera is actually moving.
You can play with this value to see what works for your effects.
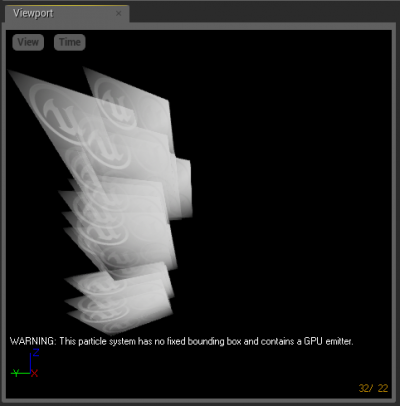
Note we have a warning message on screen about the bounds of our effect. It is important to set fixed bounds on your particles as this contributes to evaluation cost, and can be very expensive with multiple particle systems in a scene.
GPU particles in particular need fixed bounds because the CPU handles culling. Since GPU particle simulations are handled on the GPU, the CPU has no idea where those particles are located, and your particle bounds define the region for proper culling.
I typically wait until I have my effect further along before setting bounds, but let’s go ahead and do this now for illustration purposes.
Click in the black area to the right of your emitter stack.
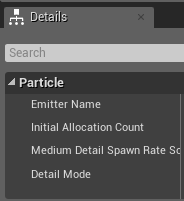
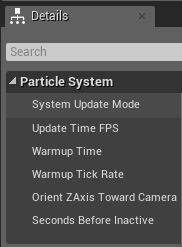
Note the difference in your Details Panel:
Clicking on an emitter:
Clicking in the black area
By clicking the empty space you are telling Cascade you wish to manage the properties of your particle system as a whole. This is where we manage settings relevant to the entire particle system (a collection of emitters).
Scroll down and look for the Bounds section.
You can see we currently have no fixed bounds. If I check the box which says Use Fixed Relative Bounding Box, the bounding box will be entirely too small for my particles. To illustrate how bounds work let’s go ahead and check the box and leave the bounds very small.
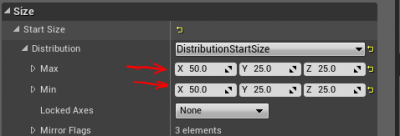
Now let’s go to our initial size module and change the size of our sprites to 50 in X.
Next, find your particle system in the content browser with the eyeglass and drag and drop your effect into the world.
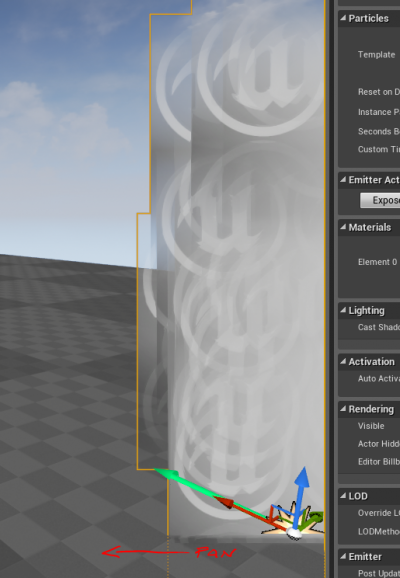
Place your camera so that your effect is right near the edge of the frame like this…
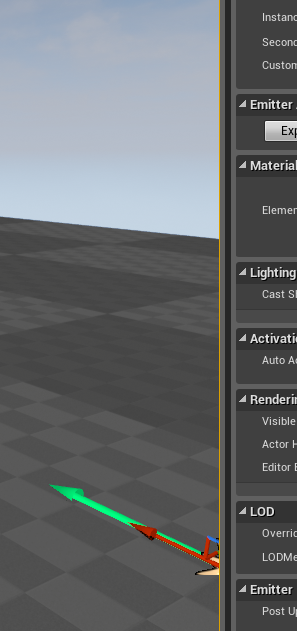
Then, pan your camera so the center of the system disappears out of frame. Your particle system should pop -out of view, even though the emitterActor is still visible.
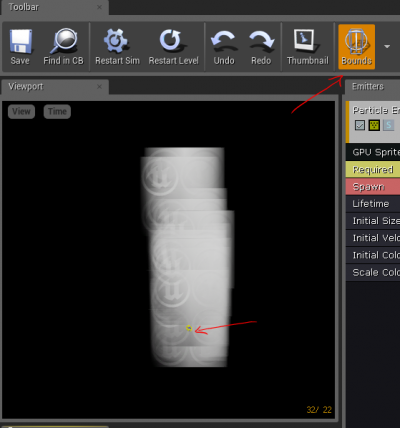
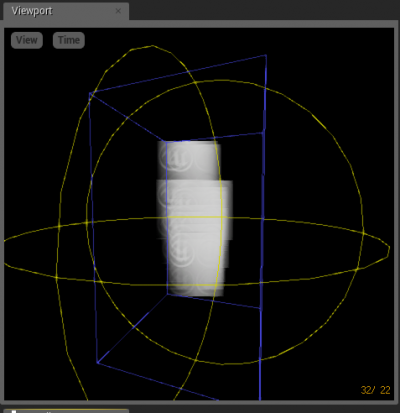
This can be very undesirable behavior because your sprites clip out before they reach the edge of your frame, resulting in a noticeable pop. Particle bounds help the renderer know which elements are safe to render, and which to cull. Bounds can be your first line of defense against slow frame rate, and tight, optimized bounds can help determine whether or not an effect is rendered. Let’s look at the bounds of our effect in Cascade by clicking on the Bounds button.
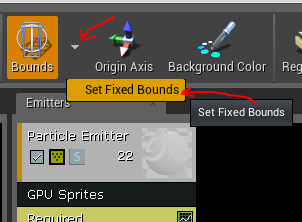
It may not be immediately apparent but the tiny blue box in the viewport represents the bounds of our effect. Once this box is out of view, UE4 will stop rendering the effect. There are two ways to change the bounds of your effect. If you are only using particles in your effect, you can choose the drop-down arrow of the Bounds button and choose Set Fixed Bounds.
This will calculate the bounds for you and set them to an appropriate size.
Depending on your game, you may or may not need bounds this large. Typically, for performance optimizations we constrict our bounds as much as possible to the most important elements of an effect. If you have small, high-frequency detail which is not 100% necessary for your effect, you might consider constricting your bounds and allowing those elements to fly outside of them. Constricting Bounds has two effects:
1> You reduce the number of sprites simulated and rendered. 2> You reduce visual noise which may not be relevant to gameplay at hand and might enter the frame from far off screen.
This is a choice you make per effect based on the relevance of that effect to gameplay. Environment effects especially can make use of tightly managed bounds.
Next up…
GPU Particles lack one powerful functionality that you may be accustomed to using with CPU particles; a Dynamic Parameter module. But, don’t fret, as there is still a way to manipulate material parameters, but we have to give up some color control.
Let’s start by duplicating our Material and renaming it so that we know it is specifically for GPU particle usage.
I’ll name mine M_Trans_Unlit_DepthFade_GPU. This name lets me know even before it's opened that I intend to use this with GPU particles.
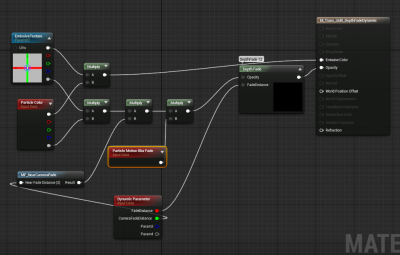
When we look at the Material we are multiplying the output of the RGB of our emissive texture by the RBG output of our Particle color, meaning I have direct control over all 3 Floats as a Vector.
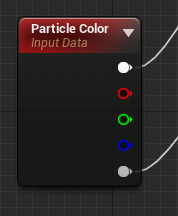
But I can break these out into individual floats as denoted by the pins on the Particle Color Expression.
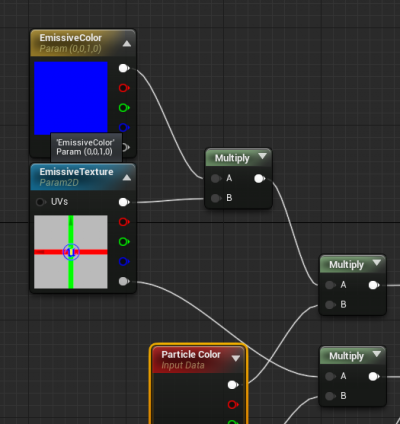
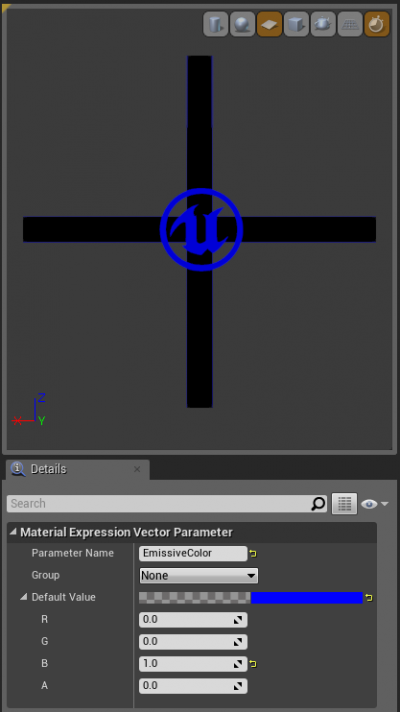
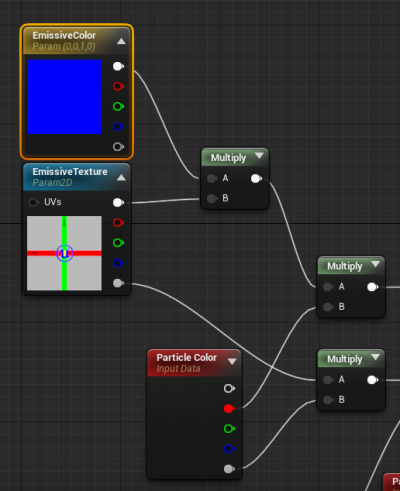
Start by multiplying our texture by a Vector we will name EmissiveColor. Hold the V key and click in the grid space of the Material editor to create a 4 Vector Color Parameter which you can rename EmissiveColor. Plug your output of the Multiply into the same Multiply that your EmissiveTexture was previously plugged into.
I gave mine a value of 0,0,1 so I can easily see the result in the Material preview window.
Next, string up the R channel of the Particle Color expression to the multiply of our EmissiveTexture and EmissiveColor.
Our Red Channel will now act as a scalar to the EmissiveColor. We will have to define our Color in the material, but we can still manipulate color scale.
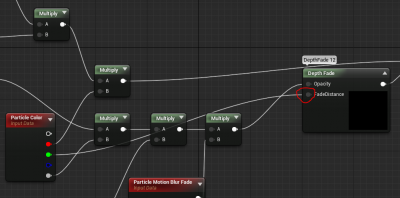
Next connect the Green of the Particle Color expression to the Fade Distance of our DepthFade expression
This will allow us to explicitly control our PerParticle Fade Distance as we had previously with the Dynamic parameter.
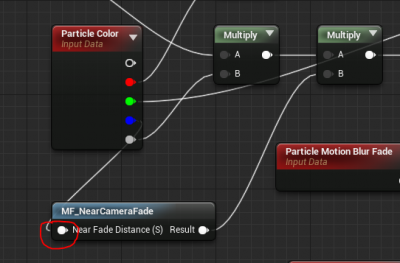
Plug the output of the Particle Color Blue channel into our NearCameraFade Material Function.
Again, we lose the ability to control direct color over the life of our particle, but we maintain the ability to Scale color, manipulate Depth Fade Distance, and the Near Camera Fade distance. Arguably this is more powerful than simply changing color over life, but it all really depends on your usage case. Let’s compile our material and map that material to our sprites in Cascade. You should now have Blue particles emitting in your viewport.
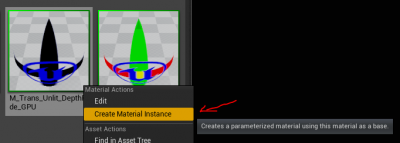
If you want a different color Particle, return to the Content Browser and right-click your Material and choose Create Material Instance.
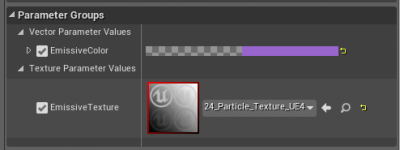
Open your MIC and check the EmissiveColor box and change the color with the color picker., I chose a lovely lavender, as well as a change to my texture to help show the feature.
Return to Cascade and map your MIC to the Required module.
This might be a good time to save all of your work
Now that we are managing more than just our color with Particle Color, the workflow tricks I showed you with the Initial Color module in the previous lessons are really going to come in handy, allowing us to use discreet ScaleColor/Life modules to control material parameters. But first, let’s start by setting our baseline settings.
Click the Initial Color module and note that if you change the R channel your effect gets brighter.
Place your effect in the level to see the changes your G channel creates, if you start with 0.00 you should have a hard edge, and if you change it to 500 you’ll get a nice soft fade.
G=0.00
G=500
Next I am going to set my B channel to 300, which will be my baseline for CameraFade Distance which I will probably never animate.
To control my Color Scale and my Depth Fade over life, I will add two ScaleColor/Life modules - one explicitly mapped to my R channel, and one explicitly mapped to my G channel -and I will stack them so that R is the top, and G is the bottom since I am accustomed to R,G,B in material language.
Depending on what you are doing, you may not need to setup two colorScale/Life modules, but I choose to do this so I can control timing separately. As an optimization, Cascade will always plot a point along all channels of a module's curve timeline, so if you add a point to R, you will manipulate G.
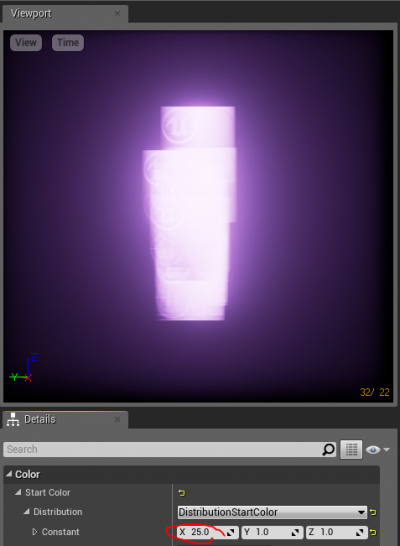
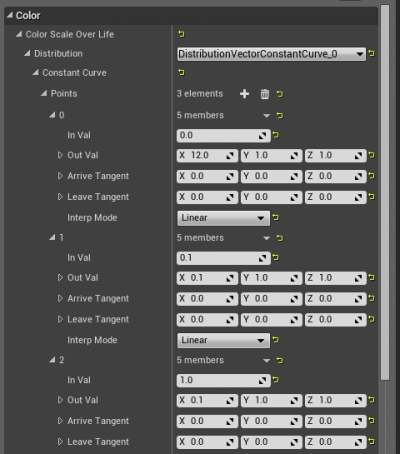
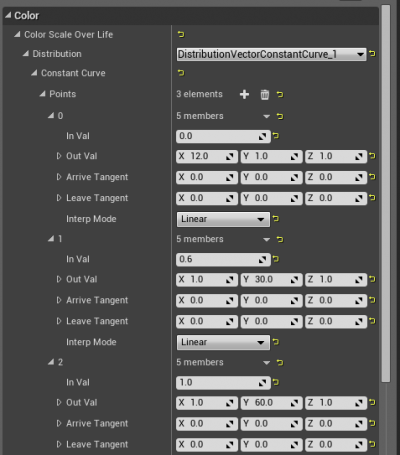
I manipulated the R color curve of my ScaleColor/Life module so that my particles start scaling the R by 12 when spawned, and quickly scale down to .1 of my initial color value through the lifespan of the sprite.
Make sure to leave your Y,Z values at 1, or you will multiply by whatever value you enter and scale Depth Fade, and Camera Depth values accidentally.
This yields a color scaled result like this.…
I will do the same for my Depth Fade setting so that my particles start off with a hard edge and fade over time. I changed my velocity to move along X to illustrate this better.
I hope this setup helps further illustrate the power behind separating Initial Color and ScaleColor/Life, rather than using a Color Over Life Module in Cascade.
That is the basic setup of just about any GPU particle system, including a bit more advanced techniques using Particle Color to control Material parameters.
From here you can expand your system by using Vector Fields and the Scene Depth Collision module which I will cover in the next tutorial.
For more information on Vector Fields reference this already existing tutorial.
https://wiki.unrealengine.com/Creating_Vector_Fields_(Tutorial)
