Swimmable Water Volume Tutorial
Contents
Swimmable Water Volume
This tutorial will go through how to set up a swimmable water volume using a “Physics Volume” in conjunction with a “Post Process Volume” to get the basic look and feel of swimming underwater.
We will also be setting the “Buoyancy” of our character in the character blueprint as well as setting up vertical swim input axis actions.
Follow the link to learn more about the material used in this example: Water_Shader_Tutorial
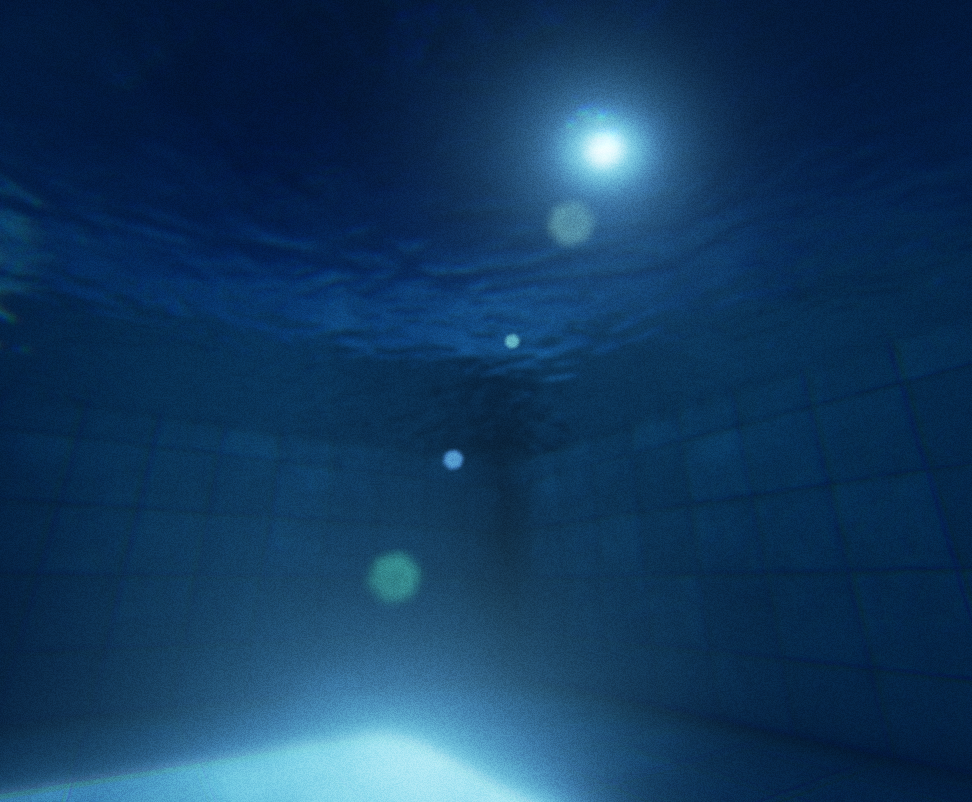
Final Outcome
Your end result should resemble the below images.....
Steps to Follow
Initial Set-Up
1. Create a new project using the “ThirdPerson Blueprint” template and enable the starter content.
2. In the default level create a new additive “BSP” box brush large enough to resemble a pool relative to your characters size.
    a. In my case I created a box roughly 1500 x 1200 x 450
    b. I also rested the pool in a way I could easily walk from the premade stair brushes to the pool deck in order for me to “dive” into the pool.
3. Now create a subtractive brush and place it in the center of your pool. This will act as the hole or cut-out area of your pool where the “Physics volume” and “Post Process Volume will rest.
4. In your content browser, search for the word “Shape_Plane,” and place that in your level. Resize this mesh so it fits snuggly in your pool. This plane will represent the water’s surface.
    a. Be sure to turn off the "Shape_Plane" collision.
    b. Double-click the mesh to open the 'Static Mesh Editor' to remove the collision.
5. Now in your content browser type the word “Lake” or “Ocean” in the search field of the “Game” folder to find the two example materials of water provided by the starter content.
6. Drag and drop either one of these materials onto your “Shape_Plane” mesh.
7. Click on your water mesh and within the “Details” tab underneath the “Lighting” options check the box “Use Two Sided Lighting.” This will make it so when underwater the material is also shown.
    a. Your pool should look something like the first image in the tutorial underneath the “Final Outcome” section.
    b. Aside from the translucency of the water material.
Volume Set-Up
Now we will set up the physics volume and the post process volume so that we can apply the look and feel of water to our pool.
8. In the modes section type the words “Physics Volume” in the search field and place this volume in your level. Set the bounds of the volume as close to the “Subtractive” brush as possible.
a.This volume represents the area in which you will be able to swim around.
9. Within the details panel of your “Physics Volume” under the “Character Movement” options there is a few settings we need to change.
    a.Check the box that says “Water Volume”
    b.Change the fluid friction to about 0.35
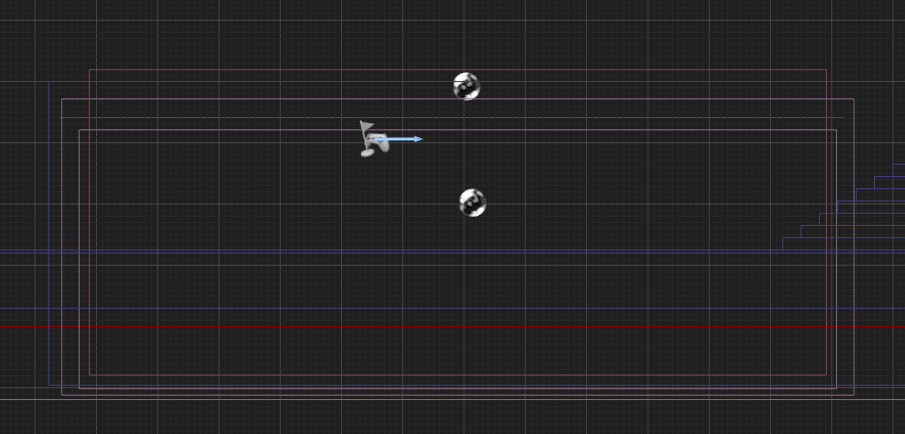
10. Now we need to pull in a “Post Process Volume” that will give us the underwater look and feel. Set the bounds of this volume similar to your “Physics Volume”
    a.See images on how I set it up in my scene.
    b.The smaller pink box represents the “Post Process Volume” and the outer pink box represents the “Physics Volume.”
Blueprint Set-Up
Now within your character blueprint we need to edit a few things so that our character has a good “Buoyancy” and set two different input keys to ascend and descend the volume.
Currently we are not working with a swimming animation so while “swimming” in the volume we are using the run animation which works fine for the basic goal.
11. Go into your character blueprint labeled “MyCharacter” and under the “Defaults” section there is a search field. Type “Buoyancy” in the field and set the characters buoyancy to around 1.1
    a. You can play with this setting to make your character more or less buoyant
    b. Too little or too much will make it difficult to have a believable though
12. Now go into your “Project Settings” by clicking on the “Edit” option.
13. Underneath the “Engine” section click on the word “Input.”
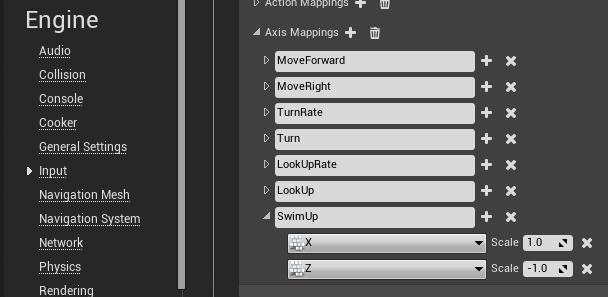
    a. Here you will create a new “Axis Mapping” which controls the vertical movement in the water.
    b. The value of 1.0 = Up and the value of -1.0 = Down.
14. Under the “Axis Mappings” drop down box click the plus symbol and label this new Axis Map, “SwimUp”
    a. Choose the keyboard key X = 1.0 to swim up
    b. And Z = -1.0 to swim down
15. Now within our “MyCharacter” blueprint of the “EventGraph” create a new “InputAxis” using our “SwimUp” mapping.
16. Right click in the “EventGraph” and search for “InputAxis SwimUp”
17. Now create a new “Add Movement Input” node and set the world direction of Z =1.0
18. Connect the pins to their respective locations. Use the below image as reference.
19. Save all your work.
20. Launch PIE (Play in Editor)
21. Start Swimming
Thanks for following along! I have written some more tutorials you can check out by following the links within my Wiki Profile page found below.


