Camera Switching in Blueprints
Toggling between Cameras
Overview
This tutorial assumes the user has a basic knowledge of blueprints.
This tutorial will show you switch from a camera placed in your scene/level, and then back to the current player camera using the 'Set View Target with Blend' node in blueprints.
Setup
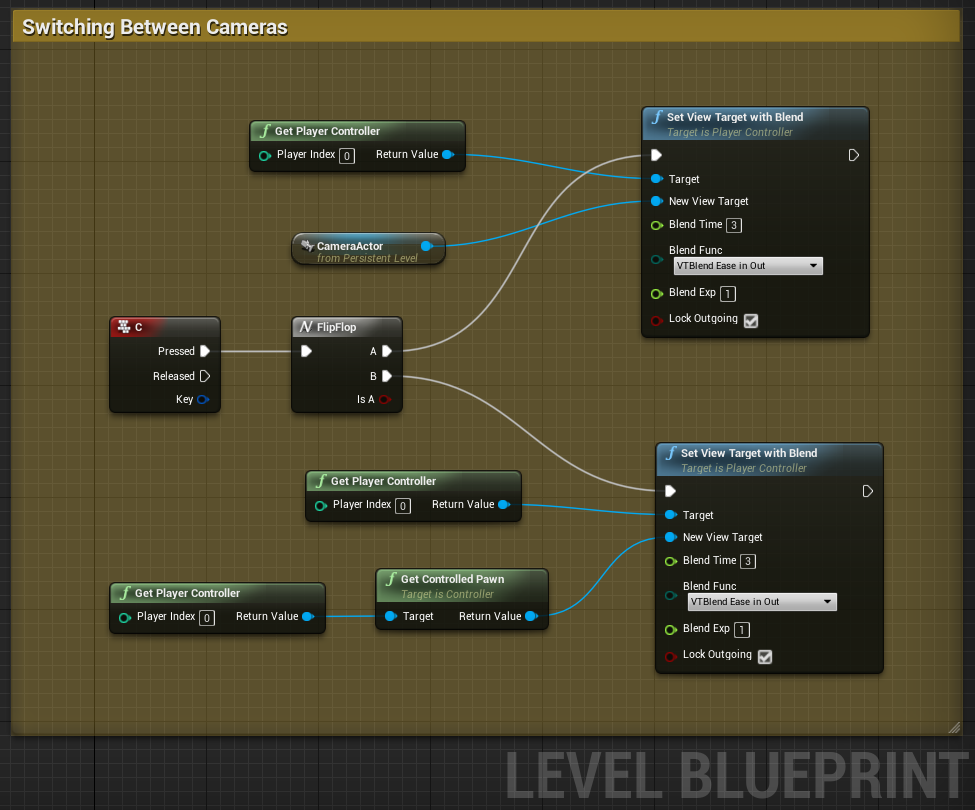
Below is an example of how you can switch between your current active player camera, to another camera within the level/scene. Simply get a reference to the player camera and the camera placed within the scene and add the below logic to your Level Blueprint.
You can see that I am controlling the switching using a FlipFlop node which alternates between cameras with each press of the 'C' key. This can be substituted for an event like OnBeginOverlap with triggers or even a custom event.
Result
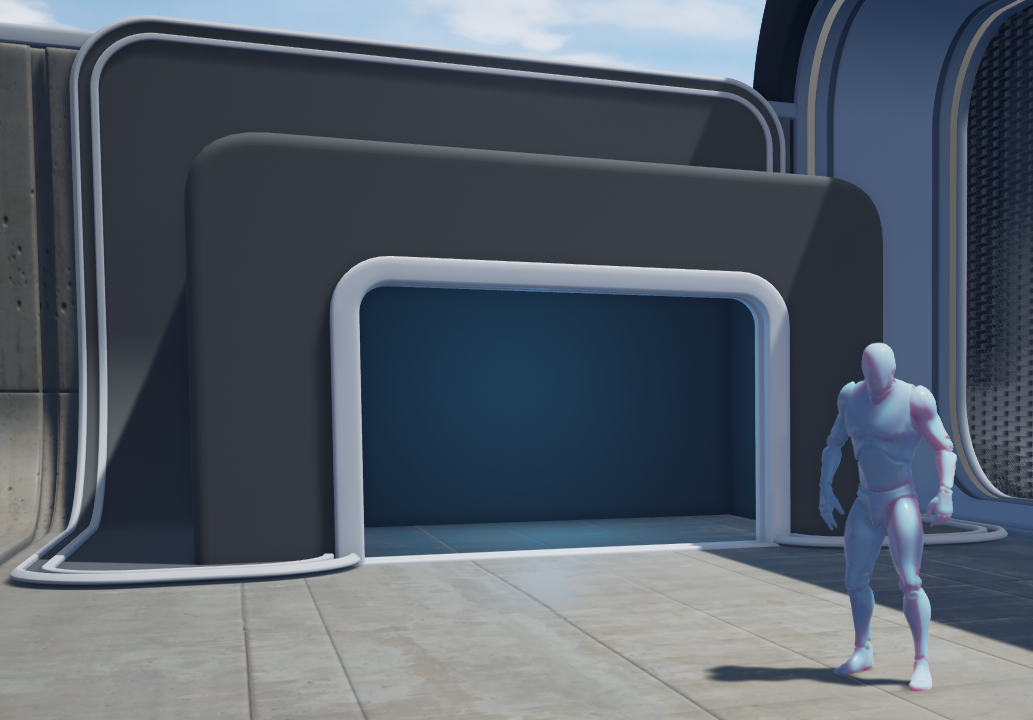
When I begin playing my level, it automatically adopts the player camera as the current active camera.
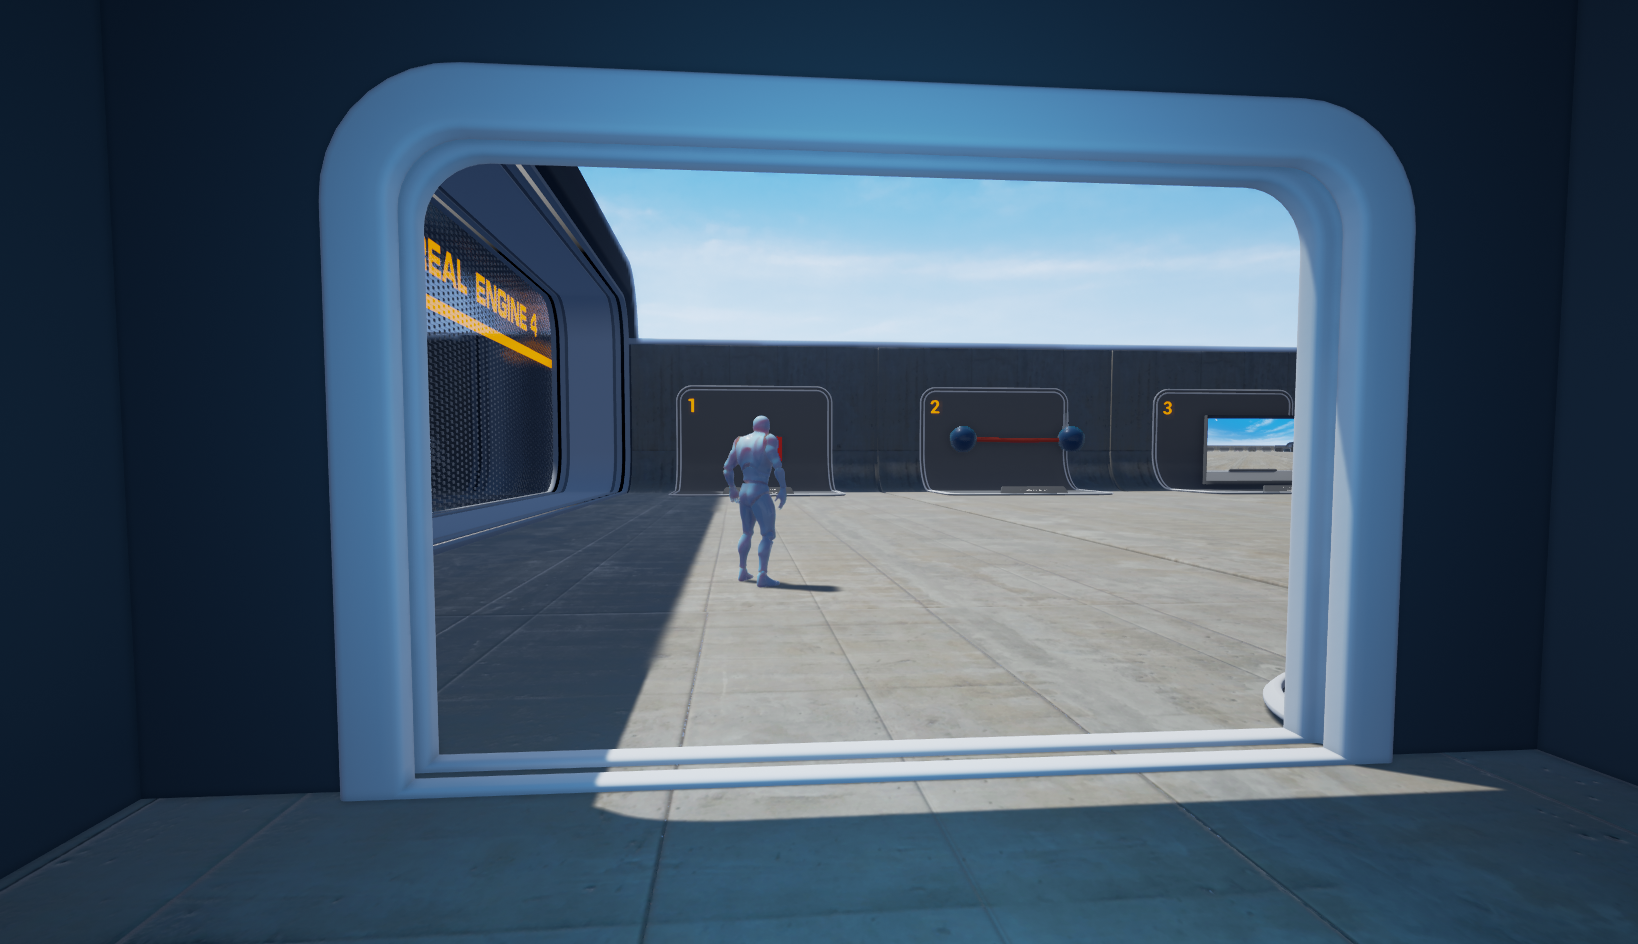
Now whenever I press the 'C' key it will set the referenced camera placed in the level as the active camera, and will use the blend settings within the 'Set View Target with Blend' node to interpolate between the previous and current camera.
Now the current camera is the one placed inside the room, and in order to switch back I need to press the 'C' key.
Thanks for following along! I have written some more tutorials you can check out by following the links within my Wiki Profile page found below.


